WORDPRESS SETUP GUIDE
Get notified when someone visits your WordPress website.
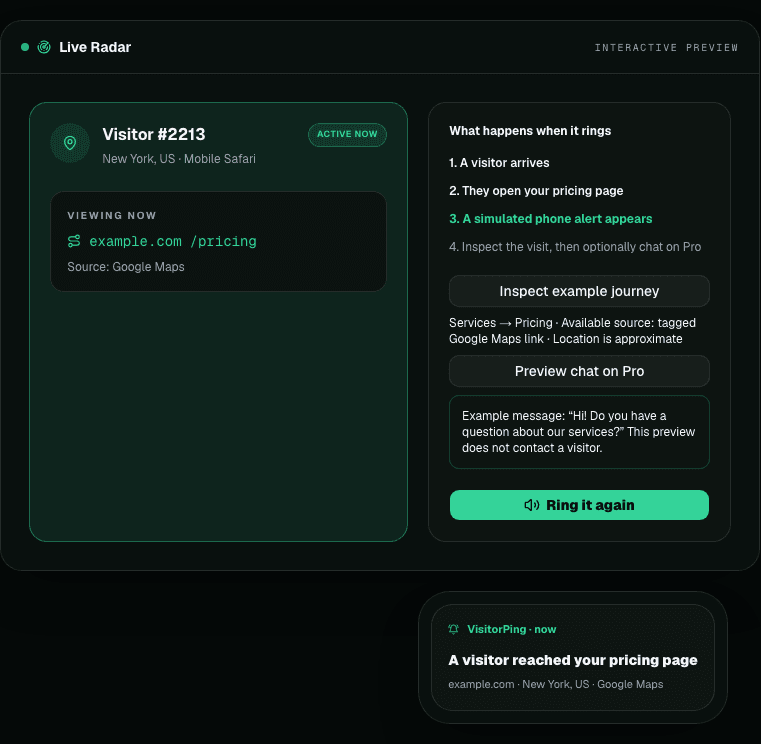
Connect your site to VisitorPing to see visits arrive in a live web dashboard. Add iPhone alerts if you want to know about visits while you’re away from your desk. No chat widget is required.
Already have an account? Open your dashboard, then follow the steps below.
Before you start
You need administrator access to a WordPress website, permission to install plugins, and a VisitorPing account. The connector requires WordPress 5.6+ and PHP 7.4+.
For WordPress.com, check that your plan supports plugins. A manual script does not bypass WordPress.com’s code restrictions. See the official plugin requirements and code restrictions.
You can keep your existing analytics. VisitorPing adds a live view and optional alerts; it does not reveal the name of an anonymous visitor. Location is approximate, and a visit alone does not mean someone is interested in buying.
1. Install the WordPress plugin and connect your site
- In your VisitorPing dashboard, add the website you want to track and copy its Site Key. Use the key for that website.
- Download the VisitorPing WordPress plugin (ZIP, version 1.3.2).
- In WordPress, open Plugins → Add New Plugin → Upload Plugin. Select the ZIP, install it, and activate it.
- Open Settings → VisitorPing. Paste your Site Key and save. The key looks like
vp_ABC23456; this example is not a working key. - Use Verify Script Connection to check that WordPress can reach your script. Then verify an actual visit below.
Use the direct ZIP download above. The WordPress.org submission is awaiting review; a public directory listing is not yet available.
2. Confirm your first live visit in the dashboard
Keep the VisitorPing dashboard open with the correct website selected. In a separate private browser window, open a public page of your WordPress site. Complete any consent step your website requires, then visit a second page.
Look for the test visit and its page activity in the dashboard. A saved Site Key or successful connection check confirms only part of the setup. Seeing that visit is the check that confirms activity reached VisitorPing.
By default, the plugin skips logged-in users who can edit posts, including administrators, editors, authors, and contributors. Test while logged out. Cached pages and logged-out visits can still include your own activity, so do not count this test as a new customer.
Need to inspect the installation? The free tracking detector checks the public page’s HTML. It can miss consent-gated or dynamically inserted scripts; it does not prove that visits are being recorded.
3. Enable optional iPhone visitor notifications
- Install the iPhone companion from the VisitorPing download page.
- Sign in to the same VisitorPing account, or use the pairing code under Mobile App in your web workspace.
- Allow notifications when prompted. Check your website selection, alert preferences, and quiet hours.
- Make another logged-out test visit that matches your alert settings. Check both the dashboard activity and the phone notification.
Notification delivery depends on your settings, network, device, and push service. The dashboard remains useful even if you do not use the iPhone app.
Visits or notifications missing? Check these in order
- No tracking script on the page
- Confirm the plugin is active and the Site Key is saved. Test a public page while logged out. Clear your page and CDN caches after changing settings. If an optimization plugin rewrites the script, test excluding the VisitorPing script from that optimization.
- The script is present, but no visit appears
- Check the selected website and its Site Key. Complete the site’s consent flow, and check whether a browser extension or network filter blocks the request. A theme must call the standard WordPress head hook for the plugin to inject its script.
- The dashboard shows a visit, but the phone stays quiet
- Confirm the phone is connected to the same account and website. Check alert rules, quiet hours, iOS notification permission, and Focus settings. Not every recorded visit necessarily qualifies for an alert.
- Too many alerts—or your own visits keep appearing
- Check the plugin’s logged-in-user exclusions and narrow your notification preferences. Private browsing and cached pages can still create your own visits. Start with the visits you actually want to act on.
Still stuck? Send your website URL and the step that failed. Do not send account passwords or publishing secrets.
Can I use a script instead of the plugin?
Yes, if your hosting plan permits custom scripts. Copy the installation snippet for your website from VisitorPing and add it once through your existing script manager. Do not install both methods: duplicate scripts make troubleshooting harder.
The plugin supplies WordPress-specific exclusions and settings. A manually inserted script does not inherit those controls. See how to verify a tracking installation.
What we tested
On September 11, 2026, we installed and activated connector 1.3.2 in an isolated WordPress 7.1 installation. Eight checks passed: no tracking without a key, invalid-key rejection at tracking time, public-visit eligibility, script URL output, administrator exclusion, consent-filter suppression, publishing disabled by default, and invalid-signature rejection.
Plugin Check 2.1.0 reported zero errors and three advisory warnings. These checks do not certify every theme or cache configuration, or prove end-to-end iPhone delivery. Read the release notes and warnings.
After configuration, the script sends activity to VisitorPing’s hosted service. Review our privacy policy and configure your site’s consent controls. To stop tracking, deactivate the plugin and clear caches; uninstalling does not delete previously stored service data.
See the next visit on your own WordPress site.
Create your account, add your website, and paste the Site Key into the plugin. You can use the web dashboard first and connect your iPhone later.